
How to repair a tear in your leather car seat
You just got that brand-new dream car with the leather seats. Not too long after, there was a mysterious tear in your brand-new leather seat! That can be frustrating. Do not worry though, we have put together the perfect how to repair a tear in your leather car seat guide. Keep reading to see just how easy it is to do this repair at your home!
Steps to fixing the tear in your leather seat
 First things first, you need a leather repair kit that matches the color of the leather in your vehicle.
- We always recommend getting a Mercedes-Benz kit, but if you cannot find one, read through your owner’s manual and see what color you need the kit to be.
How to change a flat tire on your luxury vehicle
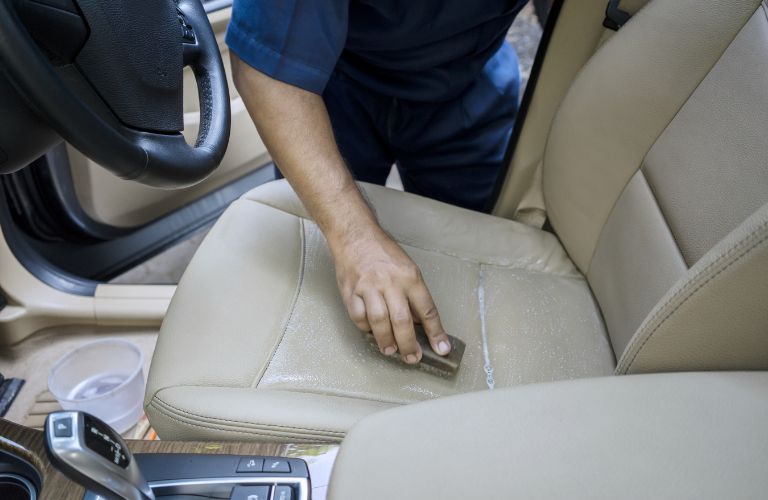
Second, clean the seat
- Get rid of crumbs, dust, dirt, etc. by getting a warm soapy rag and scrubbing the area gently. Make sure the area is completely dry before moving onto the next step.
Third, trim any loose areas around the tear
- Cut any loose threads or any edges of the tear that curl outward.
Fourth, find a piece of backing cloth from your kit and stick it into the tear
- When looking at the tear, you should only be able to see the backing cloth, you should not be able to see any other material inside of the seat.
Fifth, use the glue from the kit to glue the backing cloth to the edges of the tear
- Make sure the glue is completely dry before moving onto the next step.
Read More: How often should I rotate the tires on my luxury vehicle?
Sixth, use a palette knife and spread the leather filler onto the backing cloth between the edges of the tear
- Make sure each layer is dried before adding a new one. Keeping adding layers until the filer is slightly over the leather seat.
Seventh, once you have the tear-filled in, use a fine-grit sand block to sand down the top layer
- Make sure you sand as little of the actual seat as possible. Stop sanding when the filler layer is even with the rest of the seat.
Eighth, once again, clean off the seat
- This is to remove extra dust that was created while you were sanding down the filler.
Ninth, fill in the tear with the colorant
- Use a clean cloth and apply several layers of the colorant on top of the filler. Make sure you allow each layer to fully dry. Repeat this step as necessary until the area where the tear was matches the rest of the seat.
 Lastly, apply the sealant
- Putting on a sealant will keep the colorant from rubbing off. Make sure the sealant dries completely before sitting on the seat.
Not sure that you want to try this repair at home? Give our service department a call at 480-845-0013! We would be more than happy to take a look at that tear and get you off and on your way in no time!
How much can I tint my car windows in Arizona?


